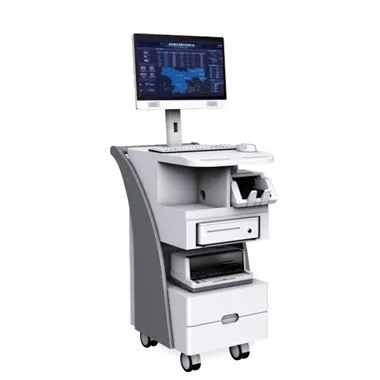
Installazione del monitor touch
① The purpose of disassembling the monitor is to completely expose the front surface of the CRT and remove the front cover of the monitor to install the touch screen. The following takes SAMSUNG753S as an example for description.
② Precautions for disassembling the monitor
Quando si estrae il CRT, assicurarsi di non afferrare o colpire il collo del CRT e del cannone elettronico. Poiché il cannone elettronico è una struttura di vetro, è molto facile danneggiarsi. Pertanto, la sicurezza del cannone elettronico deve essere considerata dopo aver rimosso il CRT. Generalmente, il lato del display CRT è posizionato su In un secchio di plastica.
③ trim the front cover of the monitor
Dopo aver rimosso il CRT e il coperchio anteriore del display, provare a inserire il touch screen nel coperchio anteriore del display rimosso. In genere, alcune nervature di rinforzo sono progettate all'interno della copertina anteriore. Queste nervature di rinforzo sono utili principalmente per la sformatura durante il processo produttivo. Se ostacola il posizionamento del touch screen Se entri o pensi che l'uso a lungo-potrebbe danneggiare i cavi sul lato del touch screen, dovresti tagliarli con una pinza diagonale (è meglio levigare il tagliato dopo il taglio, perché tagli troppo affilati possono danneggiare i fili sul lato del touch screen. Se lo spazio lo consente, puoi usare del nastro biadesivo-in schiuma per aderire al taglio)
④ Paste the dustproof strip
Sticking a dust-proof strip in the front cover of the monitor has two functions: 1. Prevent the transducer from being crushed. Some monitors, such as the PHILIPS front cover, are not high enough. If the touch screen is not attached to the dust bar, the transducer will be crushed and the touch screen will be unusable. This phenomenon is even more prominent on flat-screen monitors. The upper dust-proof strip can provide space for the transducer, thereby solving this problem. 2. Prevent external dust from entering the striped area of the touch screen. If too much dust accumulates on the stripes of the touch screen, it will cause problems such as slow touch response and partial touch failure. Sticking a dust-proof strip can effectively solve this problem.
⑤ paste double-sided tape. Stick double-sided tape outside the visible area of the picture tube, and then tear off the outer layer of double-sided tape when sticking to the touch screen.
⑥ Finish the back cover of the monitor. In order to observe the working status of the control box, it is recommended to install the control box outside the display. But if you want to look beautiful, you can stick the control box with double-sided tape or fix it with screws on the inside of the monitor. At the same time, use diagonal pliers to cut out a small hole that can pass through the screen line or serial line (Note : The position of the control box and the outlet hole is not fixed, so as not to affect the internal space of the display and not affect the reinstallation of the display).
⑦ Clean and paste the touch screen. Use glass cleaner and chamois to thoroughly clean both surfaces of the touch screen, while cleaning the surface of the display. After cleaning, carefully center the touch screen and align it with the screen. Pay attention to ensure that the reflective stripes of the touch screen are outside the visible area of the picture tube under the premise of ensuring the safety of the transducer. The touch screen has three transducers on one side facing up and immediately Use high temperature resistant tape to seal the gaps on the four sides to ensure that dust does not enter the gaps.
⑧ Reinstall the monitor. Because the thickness of the touch screen and the double-sided tape is increased between the original screen and the front cover, some rubber washers should be appropriately added when installing the CRT. Then put the picture tube into the front cover, connect all the connecting wires, draw out the screen cable or serial cable, and re-install and fix the monitor.
⑨ Precautions for installing the monitor
● If the front cover of the monitor is placed on the workbench, and then the picture tube is installed in the front cover of the monitor, the lower part of the monitor front cover must be raised so that the touch screen does not directly touch the workbench, because the surface of the touch screen is curved, otherwise it is extremely Easy to crush the touch screen during installation!
● The height of the rubber gasket should slightly exceed the total height of the touch screen and the double-sided tape.
● When installing the picture tube into the front cover of the monitor, pay attention to the position of the mounting hole on the picture tube and the mounting hole of the front cover of the monitor, otherwise the monitor image will be tilted, and the installation work shall be restarted.